PAN → OVEN → TABLE
Let’s make dinner.
Brown the chicken, finish it in the oven, and cook the rice alongside. The vegetables can join the rice or have their own pot.
Heat the oven
Preheat the oven before you cook the chicken.
A suggested starting setting is 200°C in a conventional oven, or 180°C in a fan oven. This is a starting setting, not a measured setting from Jermo’s oven. BBC Good Food ↗
Use the normal oven setting for the main cooking period. You can use the grill at the end for more surface color.
Prepare the chicken and harissa
WARNING: Do not wash raw chicken. Water can spread harmful bacteria to nearby food and surfaces. Wash your hands after contact with raw chicken. Keep raw chicken away from salad and cooked food. Food Standards Scotland ↗
Put the chicken on a clean plate or board.
Apply a light coating of salt to one side of each thigh. Apply the curry powder to the same side. This side will touch the frying pan.
For the optional harissa, transfer the required quantity from the jar into a small bowl. Use a clean spoon for this task. Close the jar.
WARNING: Do not return a spoon to the harissa jar after contact with raw chicken. The spoon can transfer harmful bacteria into the jar. Use the separate bowl to prevent this contamination. GOV.UK ↗
Jermo’s note: I usually use about one spoonful of harissa per thigh. I use less when I want a milder meal.
Brown the bottom of the chicken
Heat the frying pan over medium heat. Add a small amount of oil if necessary.
Jermo’s note: I use no oil for my chicken thighs, but it depends on your pan. Add a little if yours needs it.
Put the chicken in the pan with the curry side down. Keep the pieces in one layer.
Cook until the bottom starts to brown. Reduce the heat if the curry powder starts to burn.
Apply a light coating of salt to the exposed side. Spread the optional harissa over this side.
Do not turn the chicken before it goes into the oven. Keep the harissa side up.
Jermo’s note: I brown the bottom first because the oven grill mainly colors the top. I usually put curry powder on only one side.
Put the chicken in the oven
Transfer the frying pan directly to the preheated oven. Leave the pan uncovered.
For four thighs, set an initial timer for 15 minutes. Start the rice while the chicken cooks.
Jermo’s timing: Four thighs usually need about 15 minutes in my oven after the pan step. Larger batches can need 20 minutes or more.
Times are estimates. Before serving, cut into the thickest part: it should be steaming hot, with no pink flesh and clear juices. Cook longer if needed. GOV.UK ↗
Prepare the rice and vegetables
Measure the dry rice with your cup or scoop.
Wash the rice briefly in a sieve. Let the excess water drain.
Put the rice in the pot. Add approximately two measures of water for each measure of dry rice.
Use the same cup or scoop for both measurements. This is a volume ratio, not a weight ratio.
Jermo’s note: I use one scoop of rice, two scoops of water, and a little extra water. I adjust this for my rice and pot.
Add a small amount of vegetable bouillon powder. Alternatively, use a crushed stock cube or some salt.
Crush a stock cube completely before use. Start with less salt when you use bouillon. You can add more salt after cooking.
For the one-pot method, add the vegetables now. Use vegetables that can complete their cooking during the rice cooking period.
For other vegetables or large quantities, use a separate pot. Cook frozen vegetables according to their packet instructions. Do not rely only on the rice resting period to cook them. Food Standards Scotland ↗
A fresh salad is another option. Prepare it separately from the raw chicken.
Cook the rice
Bring the contents of the pot to a boil.
Put the lid on the pot. Reduce the heat to a gentle simmer.
Cook for 10 minutes.
After 10 minutes, switch off the heat. Move the pot away from a hot hob ring if necessary.
Leave the rice covered for another 5 minutes.
Do not lift the lid during these five minutes.
This is Jermo’s method for the basmati rice he uses. For a different rice product, check its cooking instructions first.
Jermo’s note: For a small meal, I often cook the vegetables with the rice to reduce the work. The vegetables can become quite soft. For large batches, I normally use a separate pot.
Check the chicken
When the chicken timer sounds, cut into the thickest part to check it is steaming hot, with no pink flesh and clear juices.
Check the larger pieces carefully and give them more time if needed. Cooking times vary with the appliance, piece size and quantity. GOV.UK ↗
If the chicken needs more time, return it to the oven.
For more surface color, use the grill briefly with suitable cookware. Watch the chicken continuously during this step.
Once the chicken is cooked through, remove it from the oven. Use oven gloves to handle the pan.
Put the chicken on a clean plate. Let it rest while the rice completes its five-minute rest.
Add the optional pan juices and serve
After the rice completes its rest, remove the lid.
For extra flavor, add a little hot juice from the fully cooked chicken. Add a small amount first.
To remove some fat, spoon the visible fat from the juices before you add them. You can also discard the juices.
Loosen the rice gently with a fork. Mix in the vegetables if you cooked them separately.
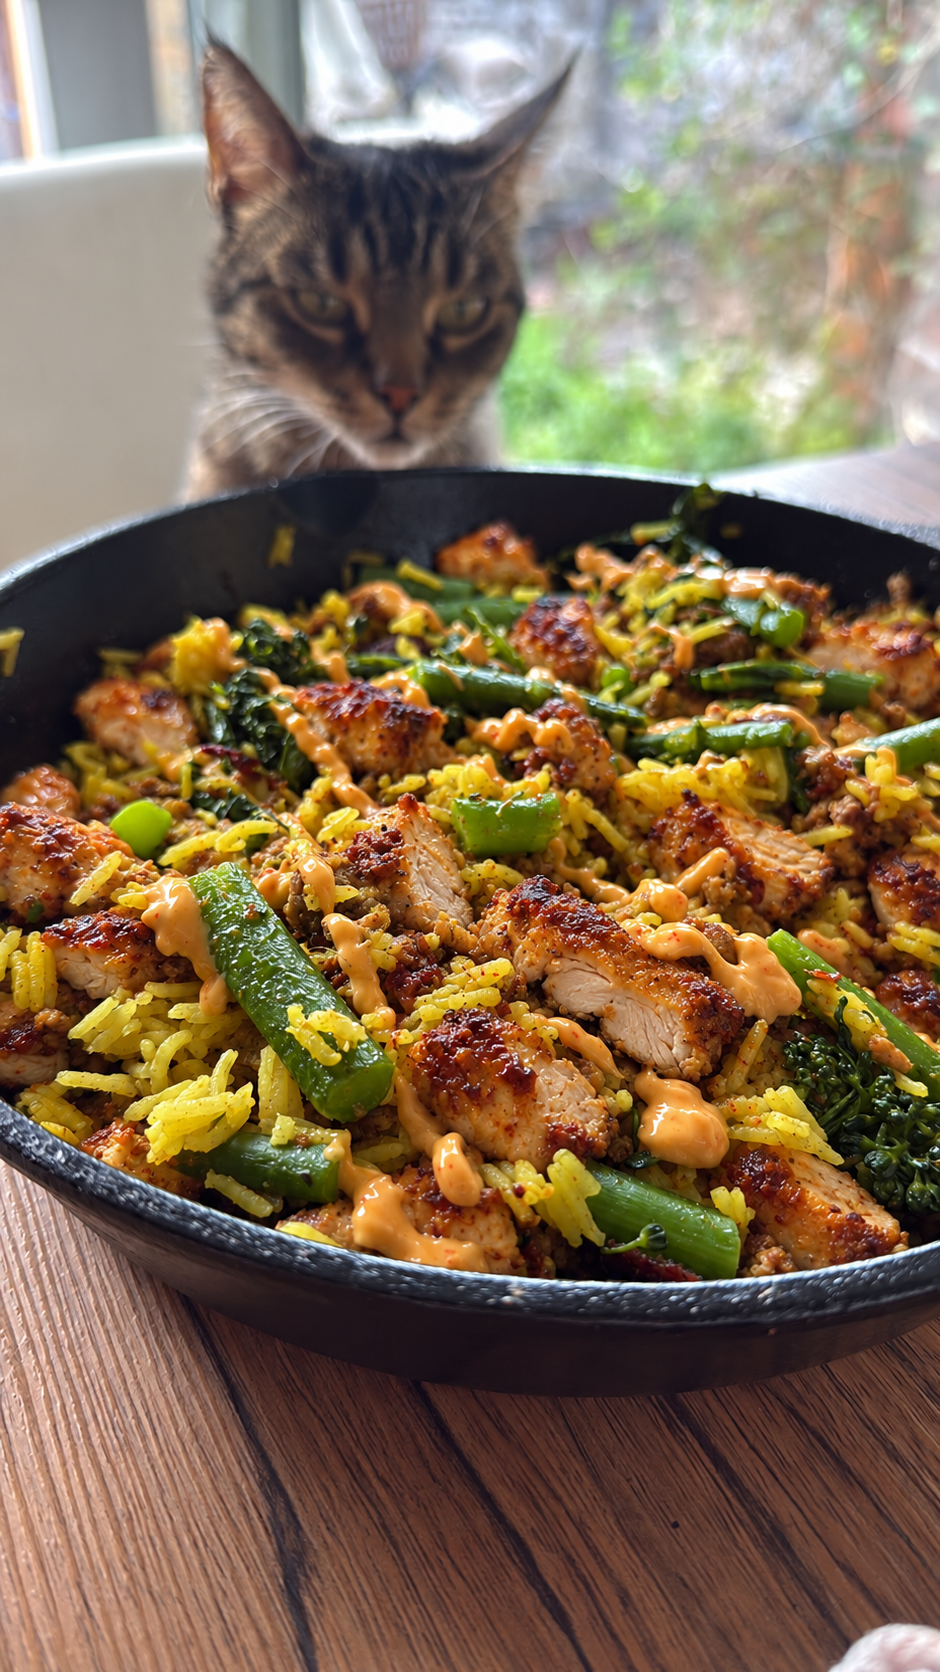
Serve the rice and vegetables with the chicken.
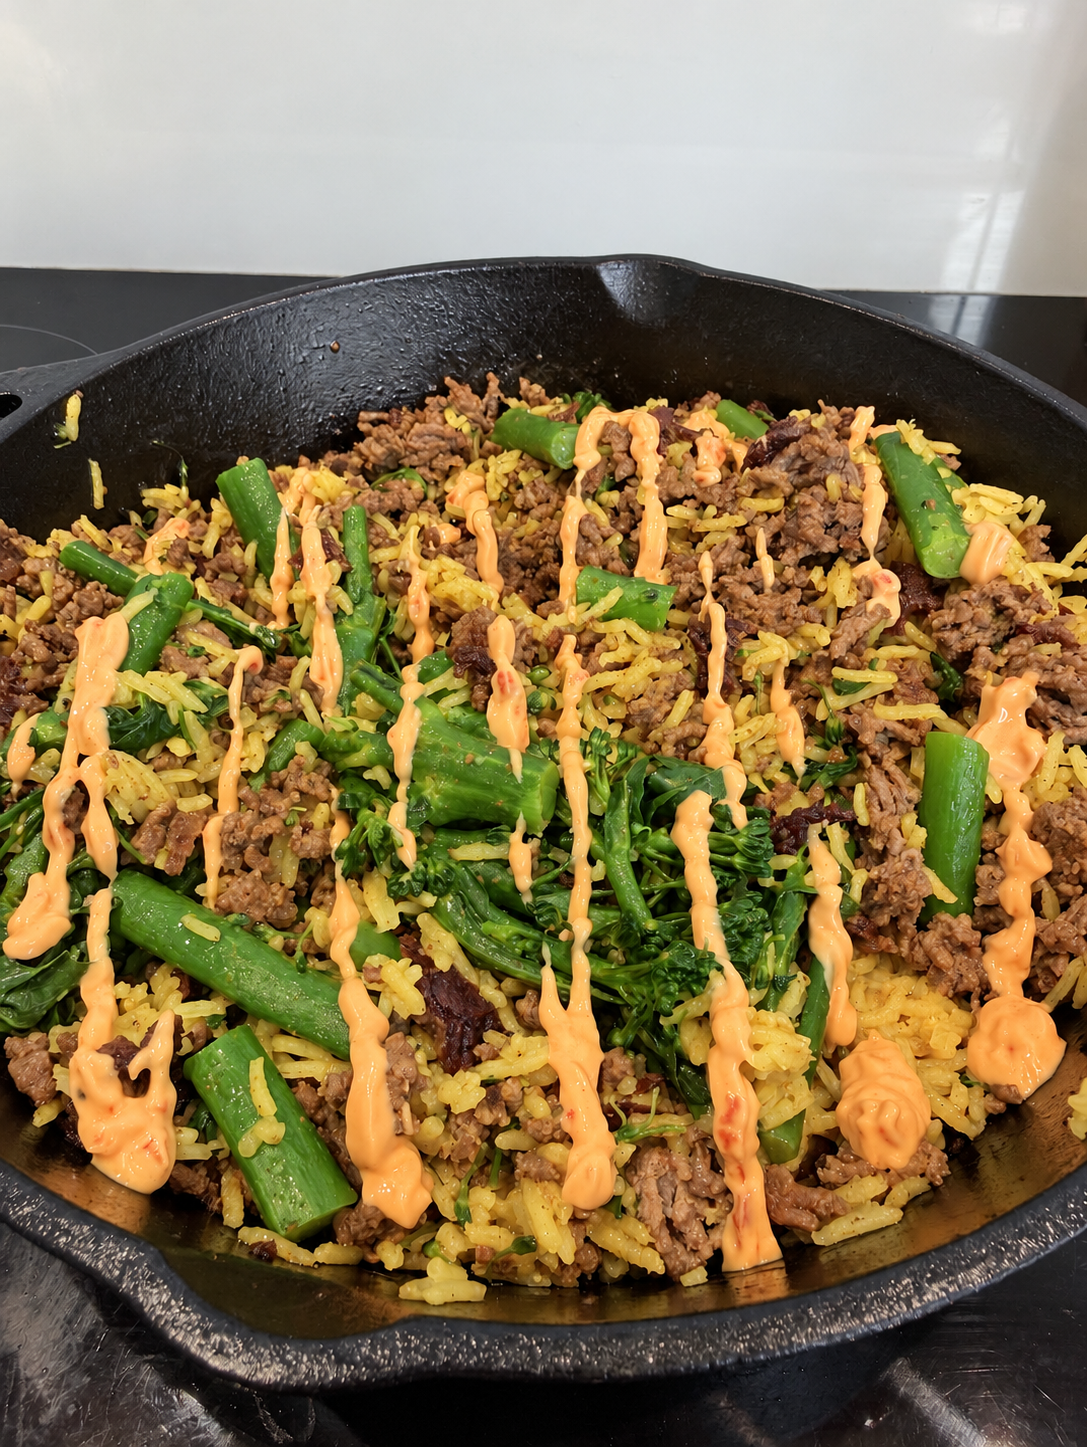
Secret touch: Drizzle a few lines of samurai sauce over your plate for an extra spicy, creamy finish.
Jermo’s note: The liquid in the chicken pan is not only fat. I often add some to the rice before I loosen it with a fork.